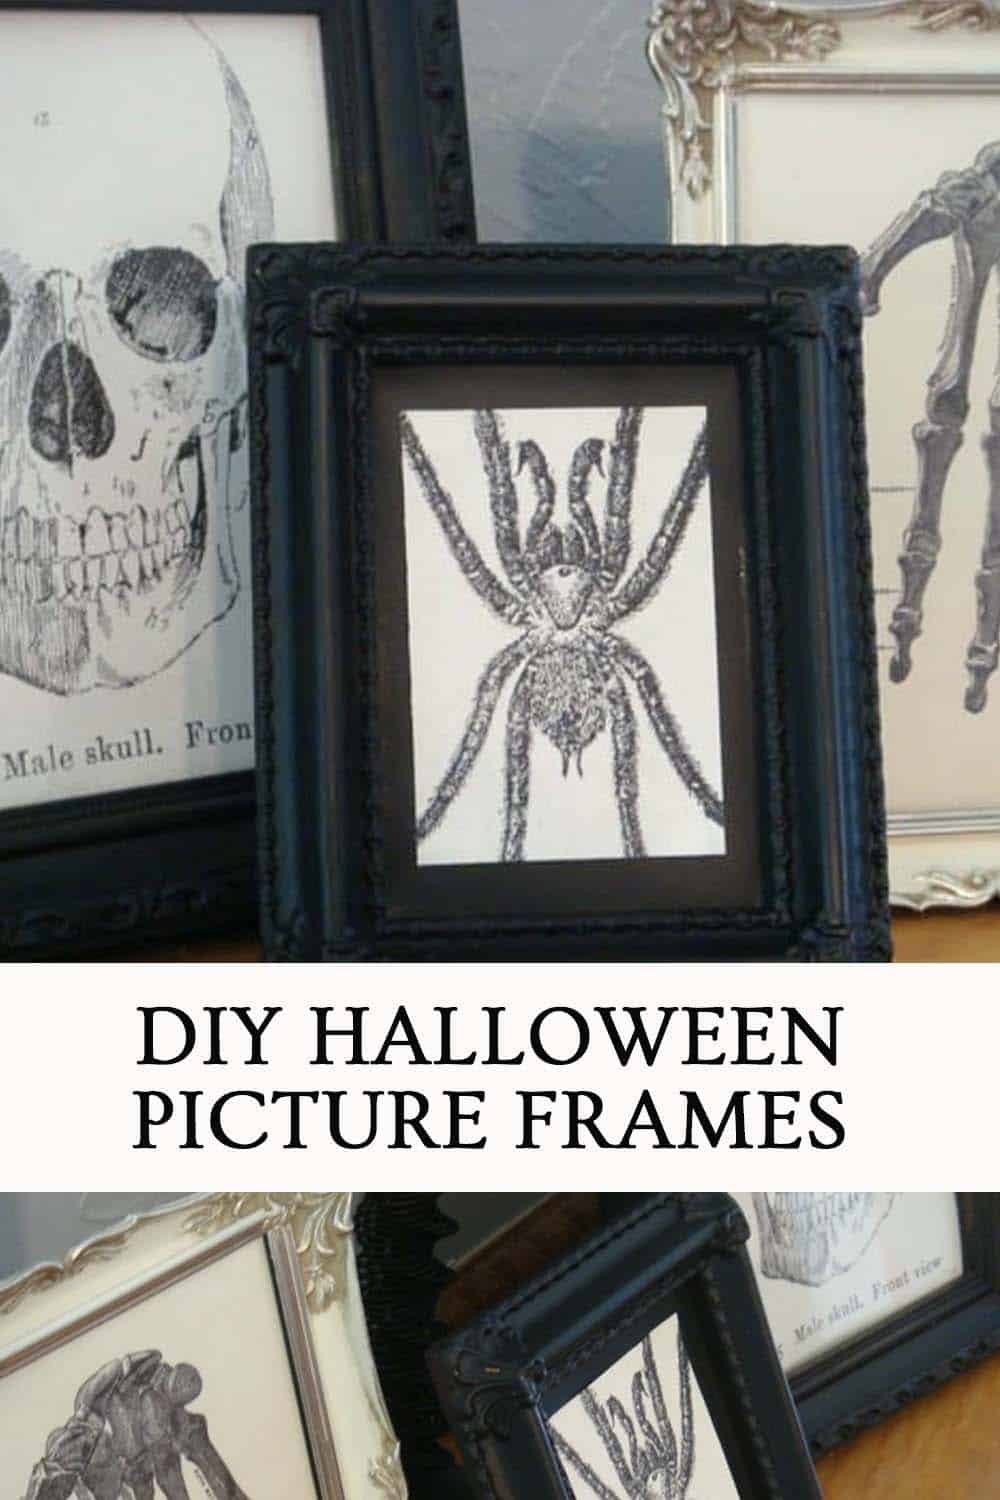
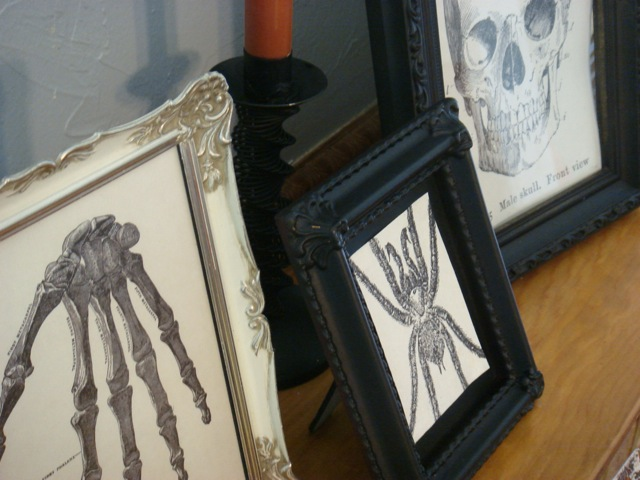
I am always in favor of doing simple DIY projects that will add a punch of pizazz to a party. This Halloween picture frame project is the perfect way to add some spooky decor to your home. Line them up on a mantle, place them in a group of three on on your table or place them in your entryway.
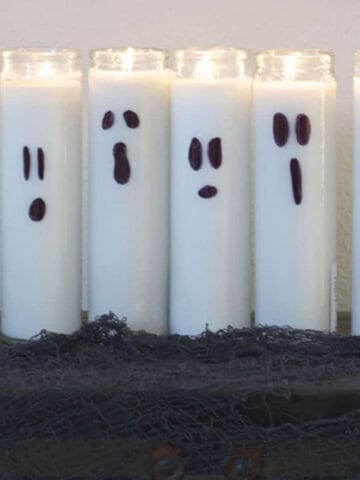
This project reminds me of the easiest DIY Halloween candles I made a few years ago.
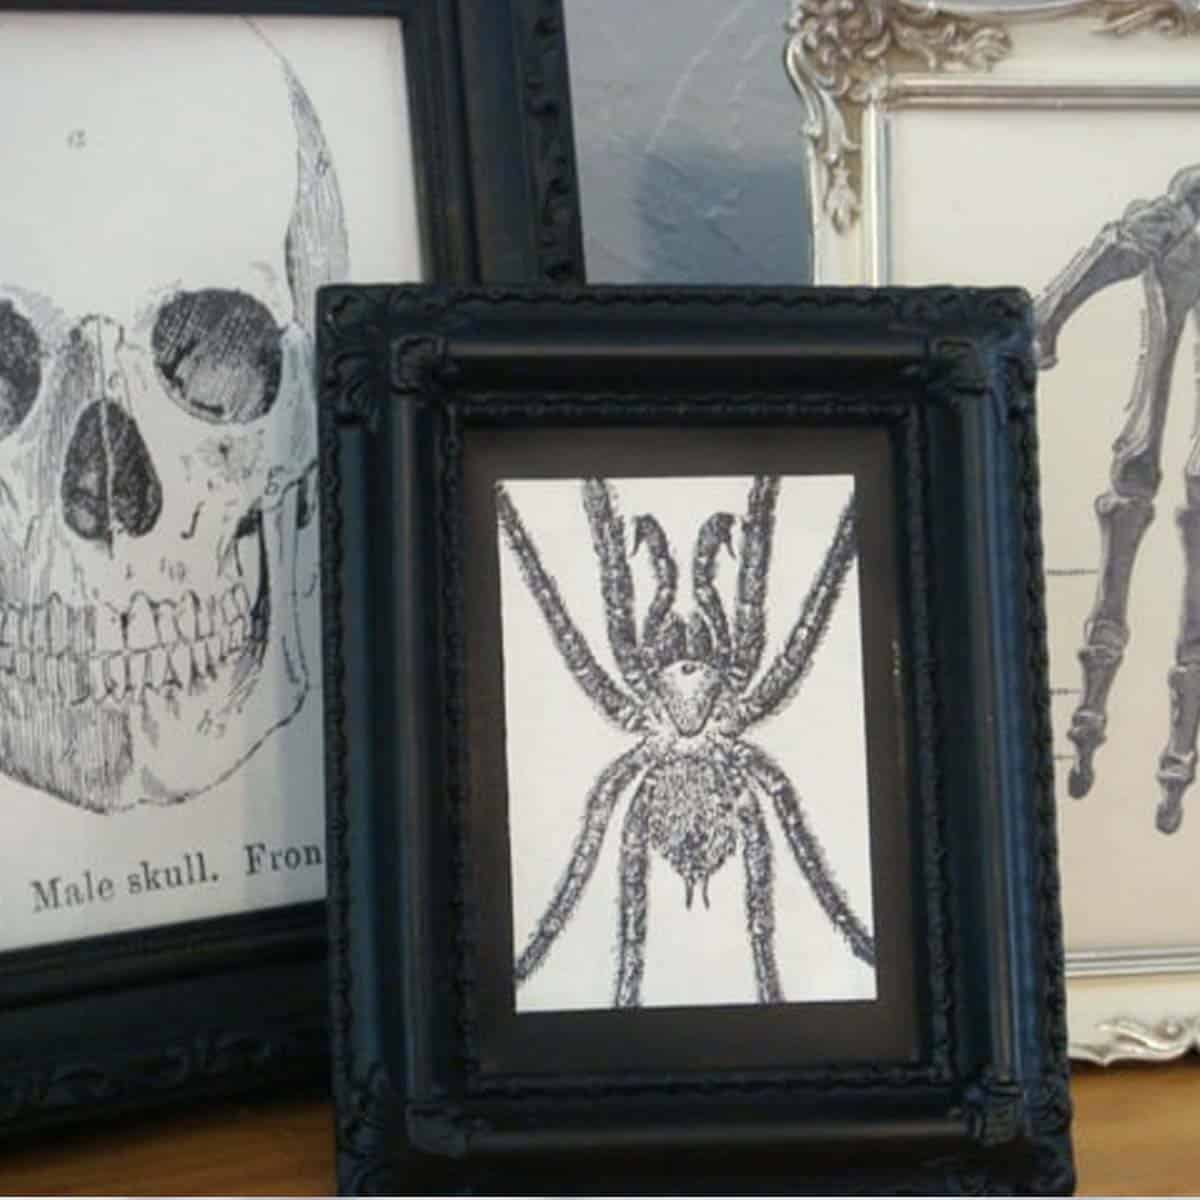
Here is a simple DIY Halloween picture frame project from Christine of Just Loverly.
Supplies For Your Halloween Picture Frame
- Picture frames that are 8x10 or smaller (Tip: You can use ANY color frame because you will be painting it! Look at local thrift stores)
- Black spray paint (flat or matte)
- Printer paper
- Spooky images printed from your computer (in the size if your frames)
How to Make Halloween Picture Frames
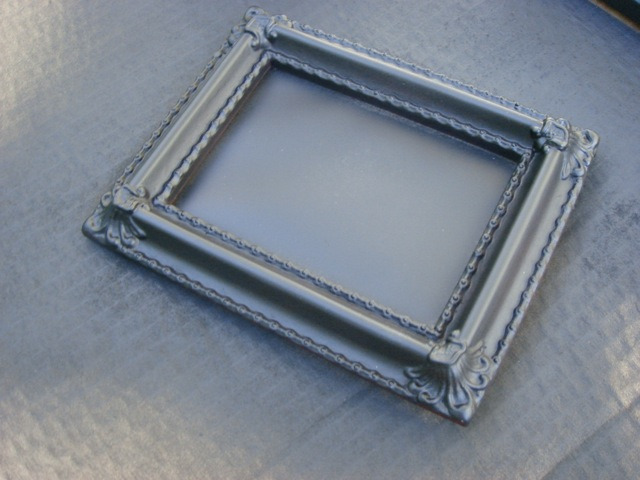
- Remove the glass from your picture frame. Dust it off and then apply the black spray paint to cover the frame. Let dry.
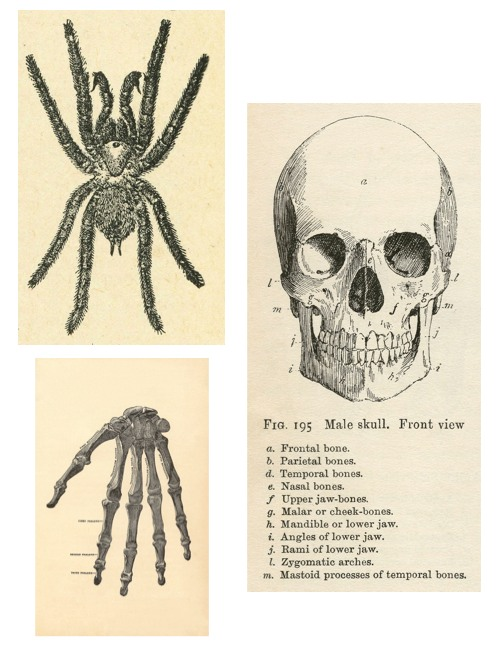
2. Find images to print that will go into your frame. Christine says:
"The first place I looked for eerie pictures was Graphicsfairy.blogspot.com and she did NOT disappoint! You can get all the images I used in this DIY either under the Anatomy section or the Halloween section. They are so great, I just hope I can do them justice!"
3. Print, cut, and place in your frame.
4. Place spooky chic frame on your mantle or group in a set of three for a spooky centerpiece.
They look so spooky grouped together!
So simple! Thanks Christine for sharing this DIY Halloween decor idea with us!
Related Posts




Kay says
Thanks for this fun and simple idea.
Sandy says
I need to create Halloween picture frames I got the frames I need to decorate the outside of the frame
HELP HELP