
I'm not sure why but I have always been scared to bake a cheesecake. I guess I just assumed it was tricky, required a special pan, and was going to taste bad. But none of those things are true! These mini cheesecake bites are my proof!
I'm glad I decided to develop this recipe because it was easy and the reward was delicious. If you think that baking a cheesecake is super complicated, let me convince you–it's not! After all, I'm all about easy desserts!
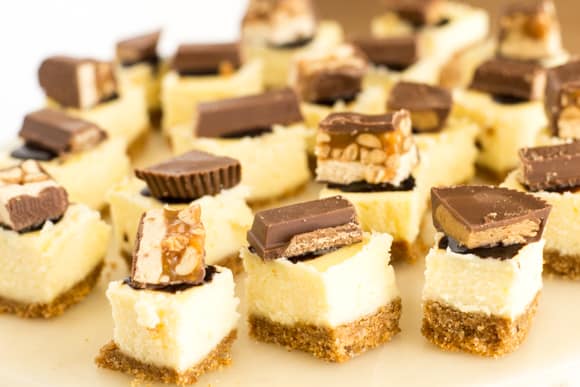
I wanted to come up with a creative dessert that was easy to make but would impress guests at our recent family dinner party. I like being able to serve bite-sized desserts on a platter — and if you cut them smaller and freeze them, they're the cheesecake pieces you fold into ice cream.
These work especially well on a buffet table set up!
Bonus: Serving bite-sized pieces also makes cleaning up easier because there is less dishes to do after everyone has gone home.

Gather a few ingredients and get ready to bake (you’ll find the full recipe below). Don't be intimidated (like I was) at the idea of making your own cheesecake from scratch.
I promise it wasn't difficult and it tastes much better than the no bake-versions I have tried in the past. The star is the Philadelphia Cream Cheese which is made with, fresh milk, real cream and no preservatives – nothing else tastes like it.
Tips for Making Mini Cheesecake Bites
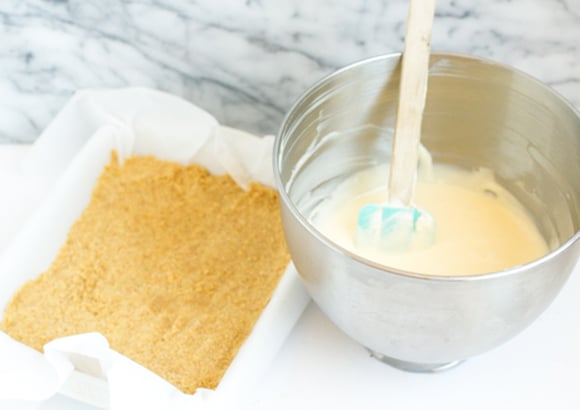
See, no special pan! I simply lined an 8x8 baking dish with parchment paper. You'll want to let it overhang about 2" on each side so you can later "lift" the baked cheesecake out of the dish. If your parchment paper isn't big enough, just use two pieces that criss-cross the pan. The bottom part of the dish will be your graham cracker crust layer. Then, you'll pour in the creamy cheesecake mixture on top before putting it in the oven.
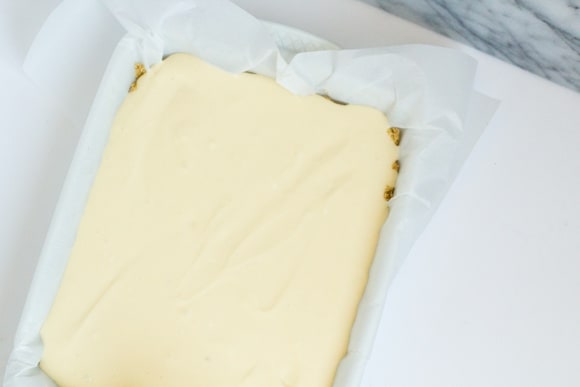
It bakes low and slow for about 35 minutes at 325 degrees. This ensures your cheesecake top doesn't crack. But don't worry too much about it even if it does because you're going to top it with drizzled chocolate and candy bar pieces so no one will even notice.
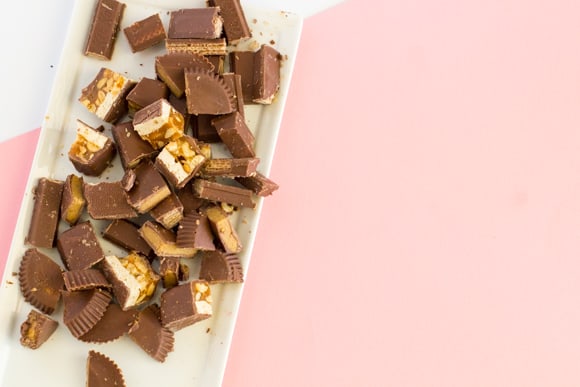
While it's baking, cut your favorite candy bars into bite-sized pieces. You'll use these for your cheesecake toppings. You'll need about 36-40 pieces.
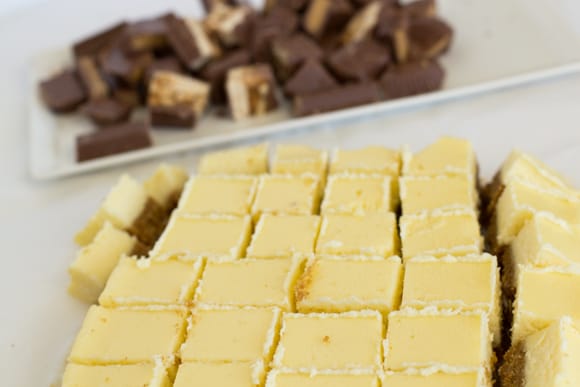
After it comes out of the oven, let it cool for about 15 minutes and then place it in the freezer for another hour, (be sure to cover it with plastic wrap first). This cools it down so it can harden a bit, which will help you cut the cheesecake into nice 1-inch pieces.
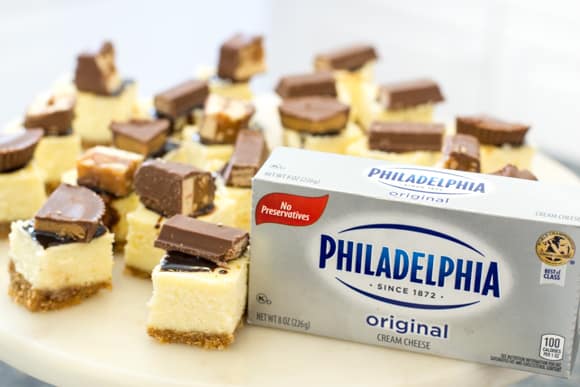
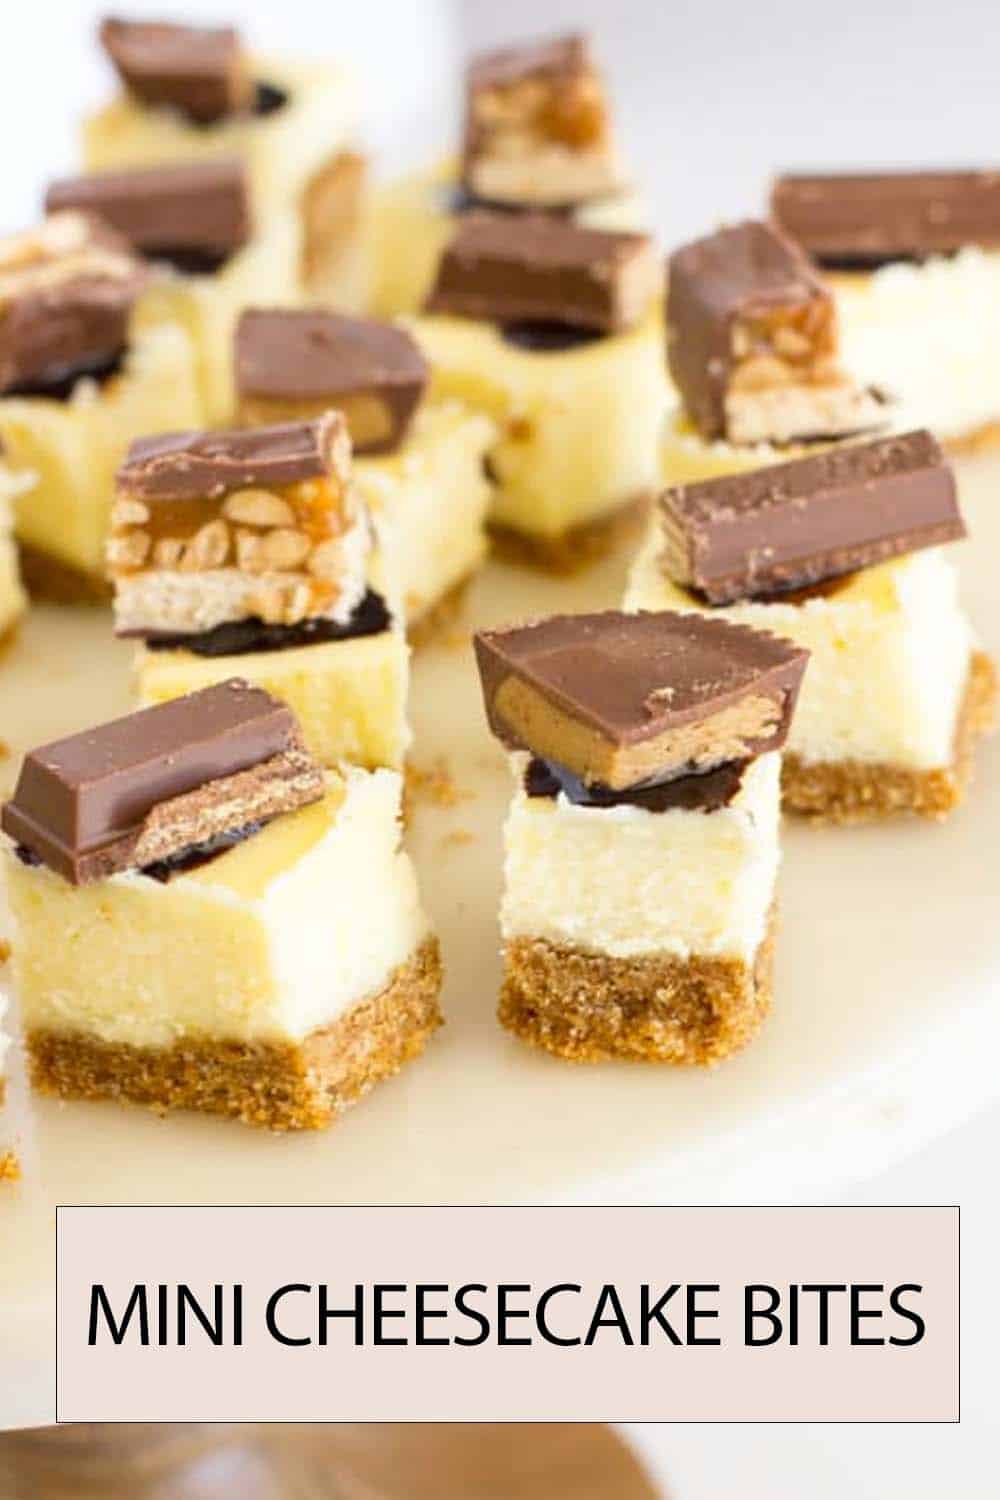
Once you have cut your pieces, add a drop of chocolate sauce or fudge to each piece and then place a candy bar on top. That's it. Easy, right?
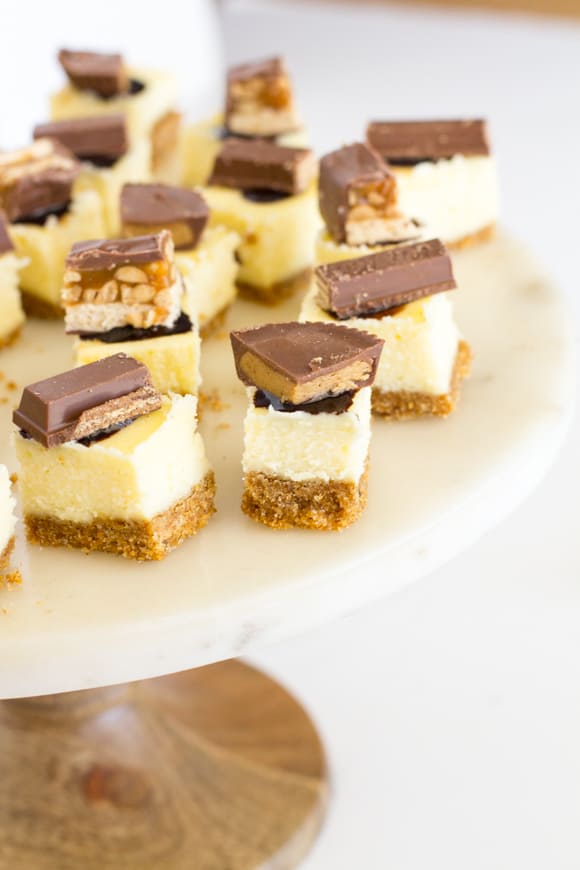
Place these mini cheesecake bites on a platter or use a cake stand. I promise, they won't last long!
Making These Ahead
These are a good make-ahead dessert, which is most of why I keep coming back to them for parties.
Up to 2 days ahead: Bake the cheesecake, cool it, and keep it covered in the fridge in one uncut slab. Cut and top the pieces the day you're serving.
Up to a month ahead: Freeze the uncut slab, wrapped well. Thaw overnight in the fridge, then cut and top.
Once they're cut and topped, they'll keep in the fridge for about 3 days. Store them in a single layer so the chocolate doesn't smudge.
A note on serving: Take them out about 15 minutes before guests arrive. Straight from the fridge the texture is firm; at room temperature it's creamier.
Cheesecake Bites for Ice Cream
If you've ever had a cheesecake Blizzard and wondered how to make the pieces at home, this recipe is already most of the way there — the slab-and-cut method is what gives you actual cubes instead of little round cakes. So give this recipe a try with just a few tweaks!
A few changes from the mini bites version:
- Skip the topping. No chocolate drizzle, no candy bars. You want plain cubes.
- Cut them smaller — about ½ inch instead of a full inch, so they fold in without overwhelming a scoop.
- Freeze them solid on a parchment-lined sheet in a single layer, then transfer to a bag. Frozen cubes hold their shape when you stir them in; refrigerated ones will mush together.
- Fold into softened ice cream, gentle is key here. Let the ice cream sit out about 10 minutes first then gently fold them in.
- Keep a stash of extras in the feezer. The cubes should last well for about a month if in an airtight container in the back of your feezer.
- Try them in different ice cream flavors. They work perfectly in classics like vanilla and strawberry but I'd love them in something more unique like a raspberry swirl or lemon.
Frequently Asked Questions About This Recipe
You can use the pre-made crusts but it will be in a round shape which doesn't work as well for this recipe. Since you end up cutting the cheesecake into 1 inch bite size pieces, using a square or rectangle pan just works better.
The beauty of this recipe is that it isn't that big of a deal if your cheesecake cracks while baking. You end up topping the cheesecake bites with drizzled chocolate and candy bar pieces so you won't even be able to tell if there's a crack or two!
Since you cut this recipe into bit sized pieces, make sure your topping isn't too messy when eating with your hands. Because of that I would avoid canned fruit filling.
If you're not into the candy bar topping, you could use mini Oreo cookies, single raspberries, or strawberry slices. You could also just do a dollop of whipped cream on top of each cheesecake bite and keep things simple.
You can. Prepare the mix according to the package, then press it over your baked graham crust and top the same way. You'll skip the baking step for the filling.
About 8 full crackers. (Thanks to reader Tiffany for measuring.)
Yes. A 9x13 or 7x11 works, but the cheesecake will be slightly thinner, so start checking around 30 minutes. An 8x8 gives you a thicker bite. Reader Tiffany used a 7x11 at 30 minutes with good results.
The edges should look set and the center should still have a slight jiggle. It firms up considerably in the fridge and freezer, so pulling it slightly early is safer than overbaking.
No — that's the whole point of this version. An 8x8 baking dish lined with parchment does the job. Let the parchment overhang about 2 inches on each side so you can lift the whole slab out.
About 36 bite-sized pieces, which covers a party of 12–15 people with seconds.
Related Recipes


Mini Cheesecake Bites
Equipment
- 1 Mixer Handheld or standing
Ingredients
- 2 8 ounce Packages Philadelphia Cream Cheese Soften
- ½ Cup Sugar
- ½ teaspoon Vanilla
- 2 Eggs
For the crust
- 1 ½ Cups Graham cracker crumbs
- ¼ Cup Sugar
- 6 tablespoon Butter Melted
Instructions
To Make the Crust
- Heat oven to 350 degrees
- Combine the graham cracker crumbs and sugar together in a medium bowl,
- Stir in the melted butter
- Combine until mixed (it will be coarse
- Press the mixture into the bottom of your pan (lined with parchment paper)
- Bake the crust for 8-10 minutes at 350 (while it's baking, begin on the cheesecake filling)
To Make the Cheesecake Filling
- Lower the oven to 325 once crust is done baking
- Beat cream cheese, sugar and vanilla using a mixer until well blended.
- Add the eggs; beat a bit more just until they are mixed in
- Pour filling into the pan with the crust
- Bake for about 40 minutes (The edges should be set and the center should still have a slight wobble — it firms up as it cools.)
- Cool on the counter for 15 minutes then cover it with plastic wrap and place it in the freezer for an additional hour
To Make Topping
- Once cooled, you can make your cheesecake bites! With a sharp knife, cut the cheesecake into about 1 inch pieces
- Drizzle melted chocolate (or chocolate syrup) over the cheesecake pieces
- Top each cheesecake bite with a piece of your favorite candy bar
Notes
- You can use a premade graham cracker crust if you want but they are typically round. This recipe is baked in a rectangle or square pan which is why it's best to make your own
- I like to use a variety of popular candy bars. My favorites to use as toppings in this recipe are Reeses, Snickers, and Twix.


Jk says
Can I use the pre-made cheesecake mix by Philadelphia crm chz?
Tori says
You could make the mix as they instruct then top like I did here!
LG says
I made these for a potluck yesterday! Very very good. In hindsight, I would have baked them for 40-42 minutes instead of 30; the squares in the middle were alllllmost set but not quite.
I also got 36 bars out of this rather than 48. Anyway, thanks for posting! They were a hit!
Tiffany at Weird Little French Cookie says
Made these today! I found that a package of about 8 graham crackers was exactly the amount I needed for 1-1/2 cups. I also baked this in a 7 x 11 , 30 minutes, still a bit of jiggle when it came out but then firmed up with cooling. I plan on topping them with a chocolate kiss glued on with some melted semisweet chocolate. Thanks!
Tori says
Hi Tiffany! So glad you made these. I hope you enjoyed them!
Clarissa says
These look so good! And that is way easier than I expected it to be! Can't wait to try it out!
-Clarissa @ The View From Here